How to Upgrade Your Gaming PC Without Reinstalling Windows (2025 Guide)
Upgrading a gaming PC can give your system new life—whether it's better FPS, smoother multitasking, or simply a quieter build. But one of the most common concerns among gamers is: "Do I have to reinstall Windows?" Fortunately, with the flexibility of Windows 11, the answer is no—as long as you take the right steps.
In this guide, you'll learn how to upgrade your CPU, motherboard, GPU, RAM, and storage without losing your files, applications, or your current Windows 11 installation.
Why Avoid Reinstalling Windows?
Reinstalling Windows is time-consuming and inconvenient. It means backing up your files, re-downloading all your apps and games, and reconfiguring every setting—from keyboard macros to your RGB lighting profiles. If you’re a gamer with 100GB+ titles like Starfield or Modern Warfare, it can take hours just to re-install everything.
By preserving your existing Windows 11 environment, you keep:
-
Your installed game libraries and launchers (Steam, Battle.net, Epic)
-
App settings and login credentials
-
Registry tweaks and hardware configurations
-
Game mods and custom files that could be lost in a clean install
Step 1: Create a Full Backup (Even If You Don’t Plan to Reinstall)
Before making hardware changes, always prepare for the worst-case scenario. A backup ensures you can recover your system in case of drive corruption, power failure, or BIOS compatibility issues.
Backup Options:
-
Use Windows Backup and Restore to create a system image
-
Use Macrium Reflect or Acronis True Image for a full disk clone
-
Back up essential documents and game saves to cloud services like OneDrive, Google Drive, or Steam Cloud
Create this backup on a separate physical drive or external SSD. Having a full image lets you restore your entire OS—apps, settings, and partitions included—without starting over from scratch.

Step 2: Verify Windows License Activation and Link to Your Microsoft Account
When you upgrade a motherboard, it’s often treated as a “new PC” by Microsoft’s licensing system. That’s why it’s critical to link your Windows 11 digital license to your Microsoft account before upgrading.
To Check:
-
Open Settings > System > Activation
-
Confirm it says: “Windows is activated with a digital license linked to your Microsoft account”
If it’s not linked, sign in with a Microsoft account and follow prompts to attach your license. This step ensures you can re-activate Windows 11 without needing a product key or calling Microsoft support.
Step 3: Download Drivers for Your New Hardware
If you're installing a new motherboard, CPU, or chipset, your system will need the proper drivers to function correctly. Download them before the upgrade to avoid connectivity issues after booting.
What to download:
-
Chipset drivers (Intel/AMD)
-
Audio and LAN drivers
-
BIOS update utility (if needed)
-
GPU drivers (if changing cards or platforms)
-
SATA/NVMe storage controller drivers (especially for RAID setups)
Save them on a USB drive so they’re ready immediately after the upgrade. This is especially useful if your Wi-Fi/Ethernet isn't working right after booting.

Step 4: Perform the Hardware Upgrade
This is where the physical work begins. The process will vary depending on what parts you're upgrading. Here’s how to do it safely:
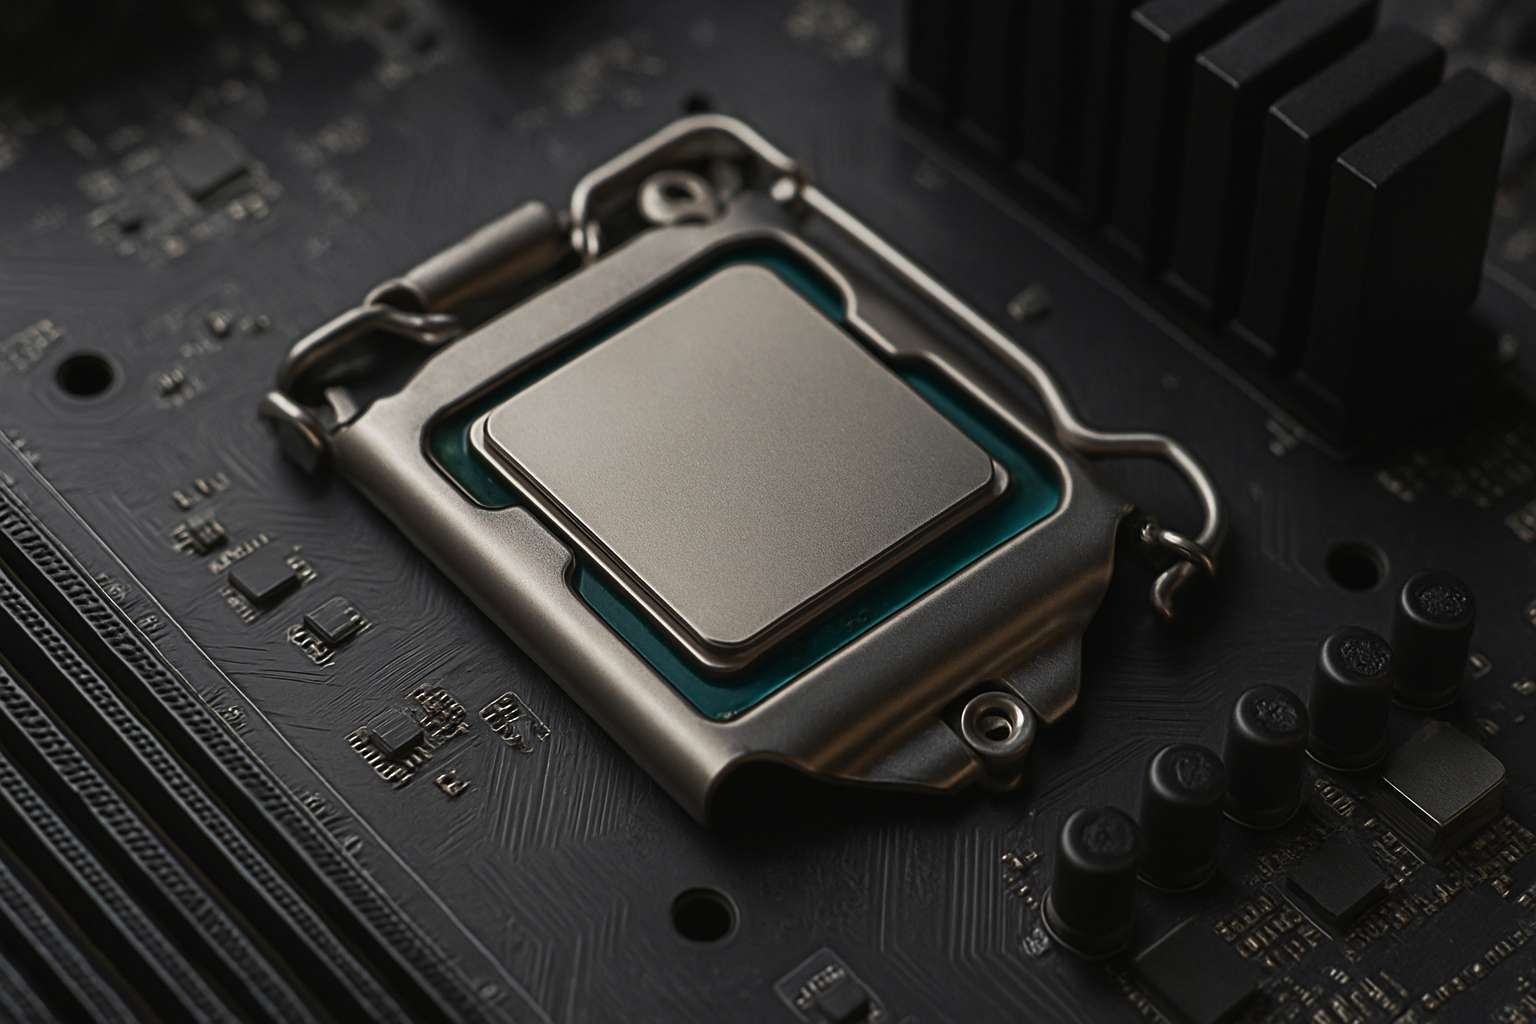
CPU & Motherboard:
-
Unplug your PC completely and ground yourself
-
Remove GPU, RAM, and storage to access the old board
-
Install the new CPU and cooler onto the new motherboard
-
Transfer your RAM and storage devices to the new board
-
Connect power cables and front I/O headers
-
Re-seat GPU and ensure all fans are connected
RAM:
-
If upgrading or replacing RAM, ensure it’s properly seated and compatible with your new motherboard (speed, capacity, and channel configuration)
GPU:
-
A GPU swap is often plug-and-play, but uninstalling the old drivers using DDU beforehand is ideal for best performance
Boot Priority:
-
After assembling, boot into BIOS/UEFI and verify:
-
Correct boot drive selected
-
All hardware is detected
-
Memory is running at proper speeds (enable XMP/DOCP)

-
Step 5: Boot into Windows and Reactivate
Upon booting, Windows 11 will automatically detect the hardware changes and adjust the drivers. Expect the first boot to take longer as Windows reconfigures behind the scenes.
If Windows is not activated:
-
Go to Settings > System > Activation > Troubleshoot
-
Select “I changed hardware on this device recently”
-
Sign in with your Microsoft account and choose the device
Activation should resume without issue, as long as your license is tied to the account.
Step 6: Finalize and Clean Up
After successfully booting and reactivating, perform a post-upgrade checklist:
-
Run Windows Update to grab updated drivers and firmware
-
Install chipset and LAN drivers from your USB
-
Use Device Manager to confirm no yellow warnings or missing devices
-
If you installed a new GPU, install the latest NVIDIA or AMD drivers
-
Optional: Run sfc /scannow in Command Prompt to verify system integrity
If you're experiencing odd glitches or long boot times, consider a repair install of Windows 11 using the Media Creation Tool—this replaces system files without touching apps or files.
When You Might Still Need to Reinstall Windows
Although most users can keep their OS, there are rare exceptions:
-
You're switching between AMD and Intel chipsets and encounter stability issues
-
Your system has legacy BIOS/MBR formatting and your new motherboard is UEFI-only
-
Blue screen loops or boot failures persist after upgrading
-
You want to eliminate legacy drivers or clean up long-term clutter
In these cases, a clean install can be the safest option—but only after trying repair tools or in-place upgrades.
Conclusion
Upgrading your gaming PC in 2025 doesn’t have to mean wiping your system and starting over. Thanks to the digital license system and hardware adaptability in Windows 11, it’s possible to get better performance with zero data loss. By preparing your system, backing up, and linking your license, you can swap major components—CPU, motherboard, GPU, and memory—with confidence.


